Not really blogging much, am I? Here's some new stuff.
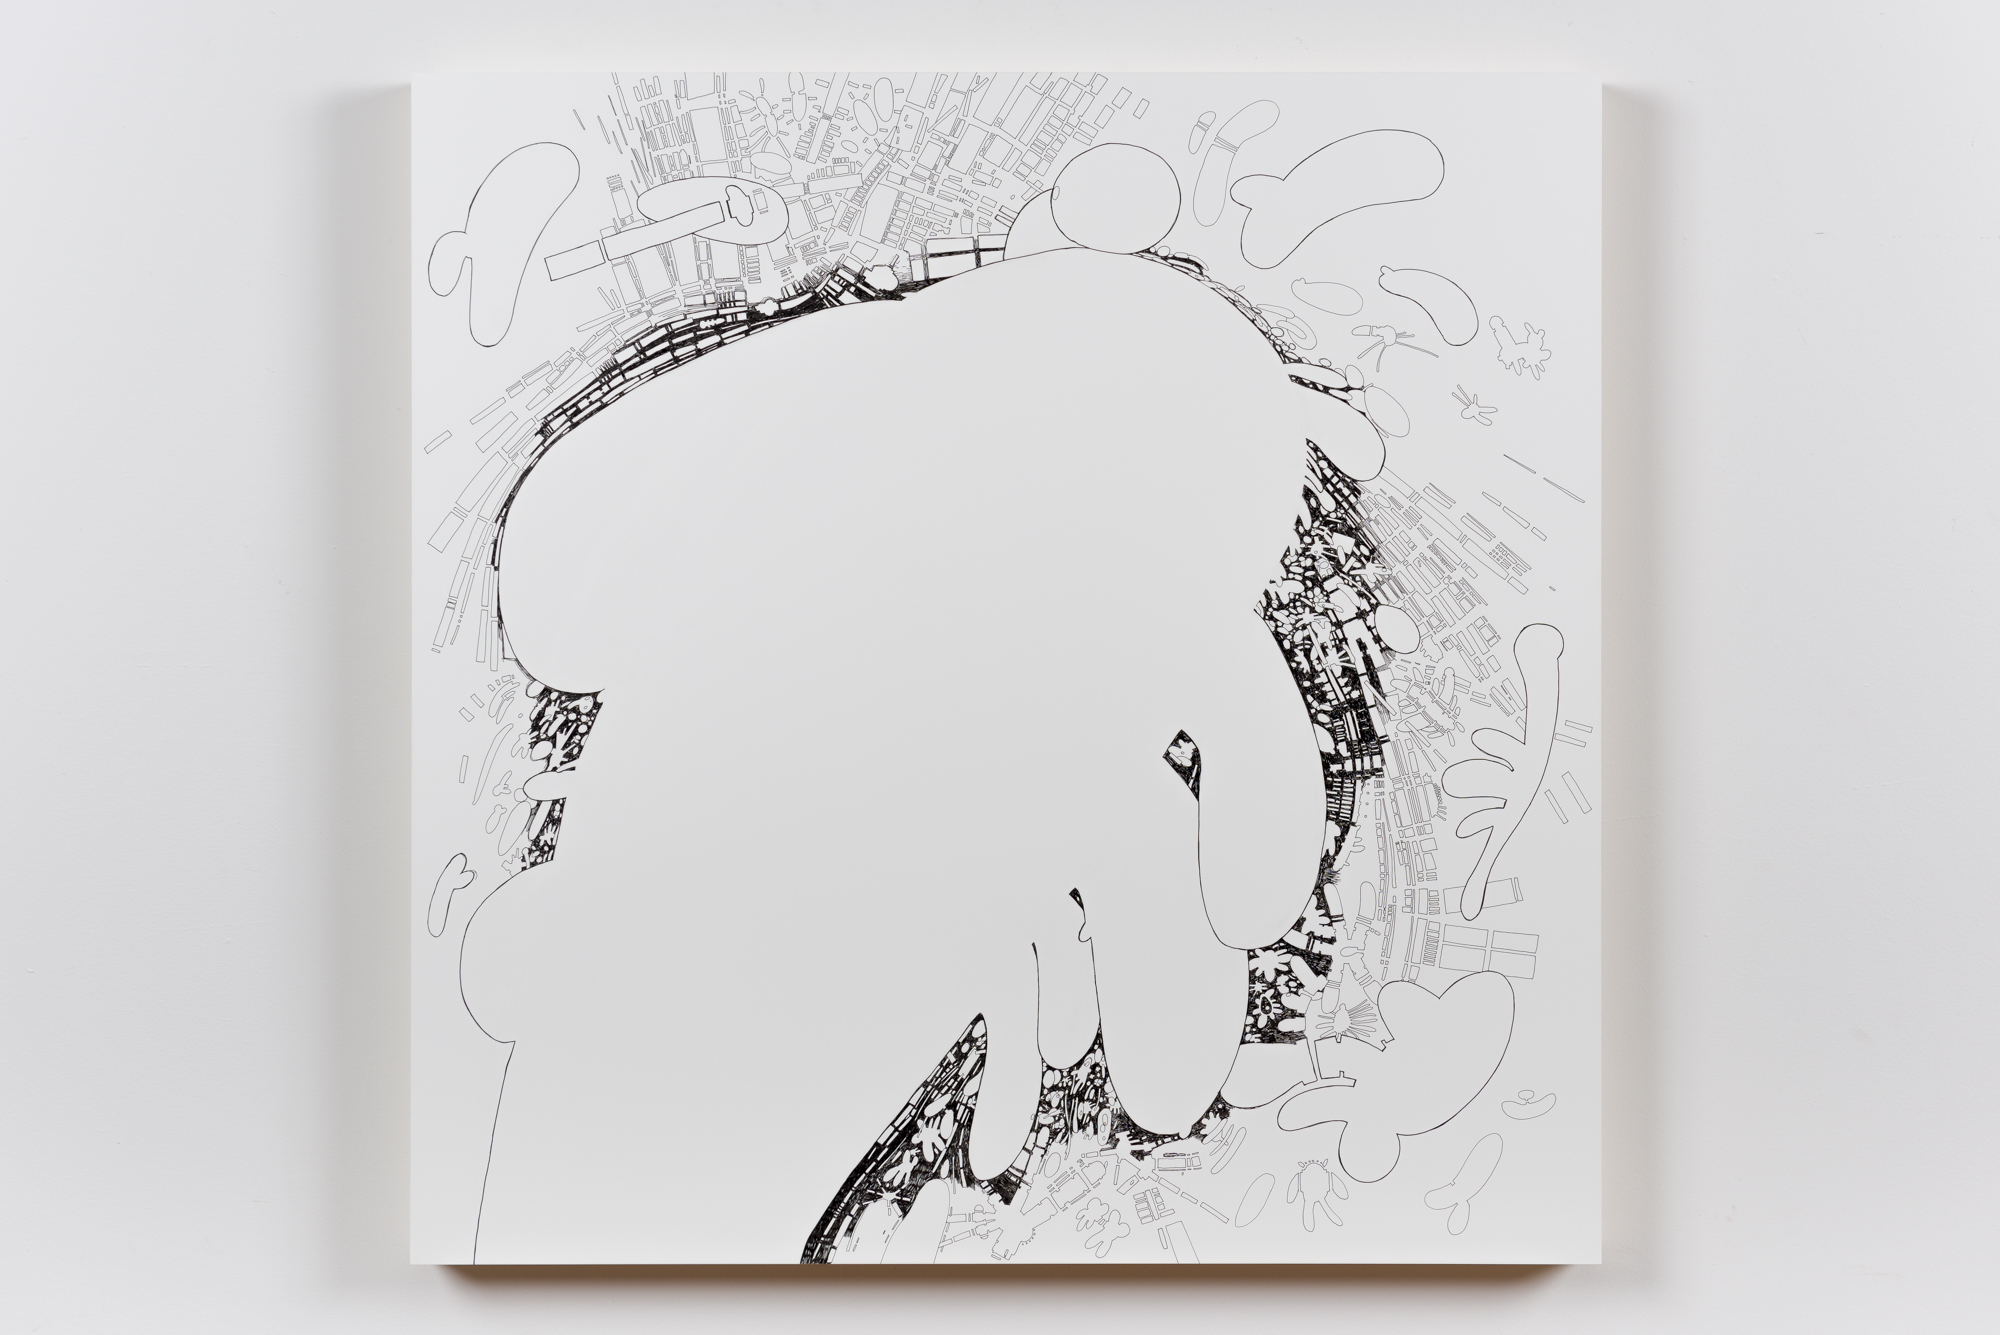
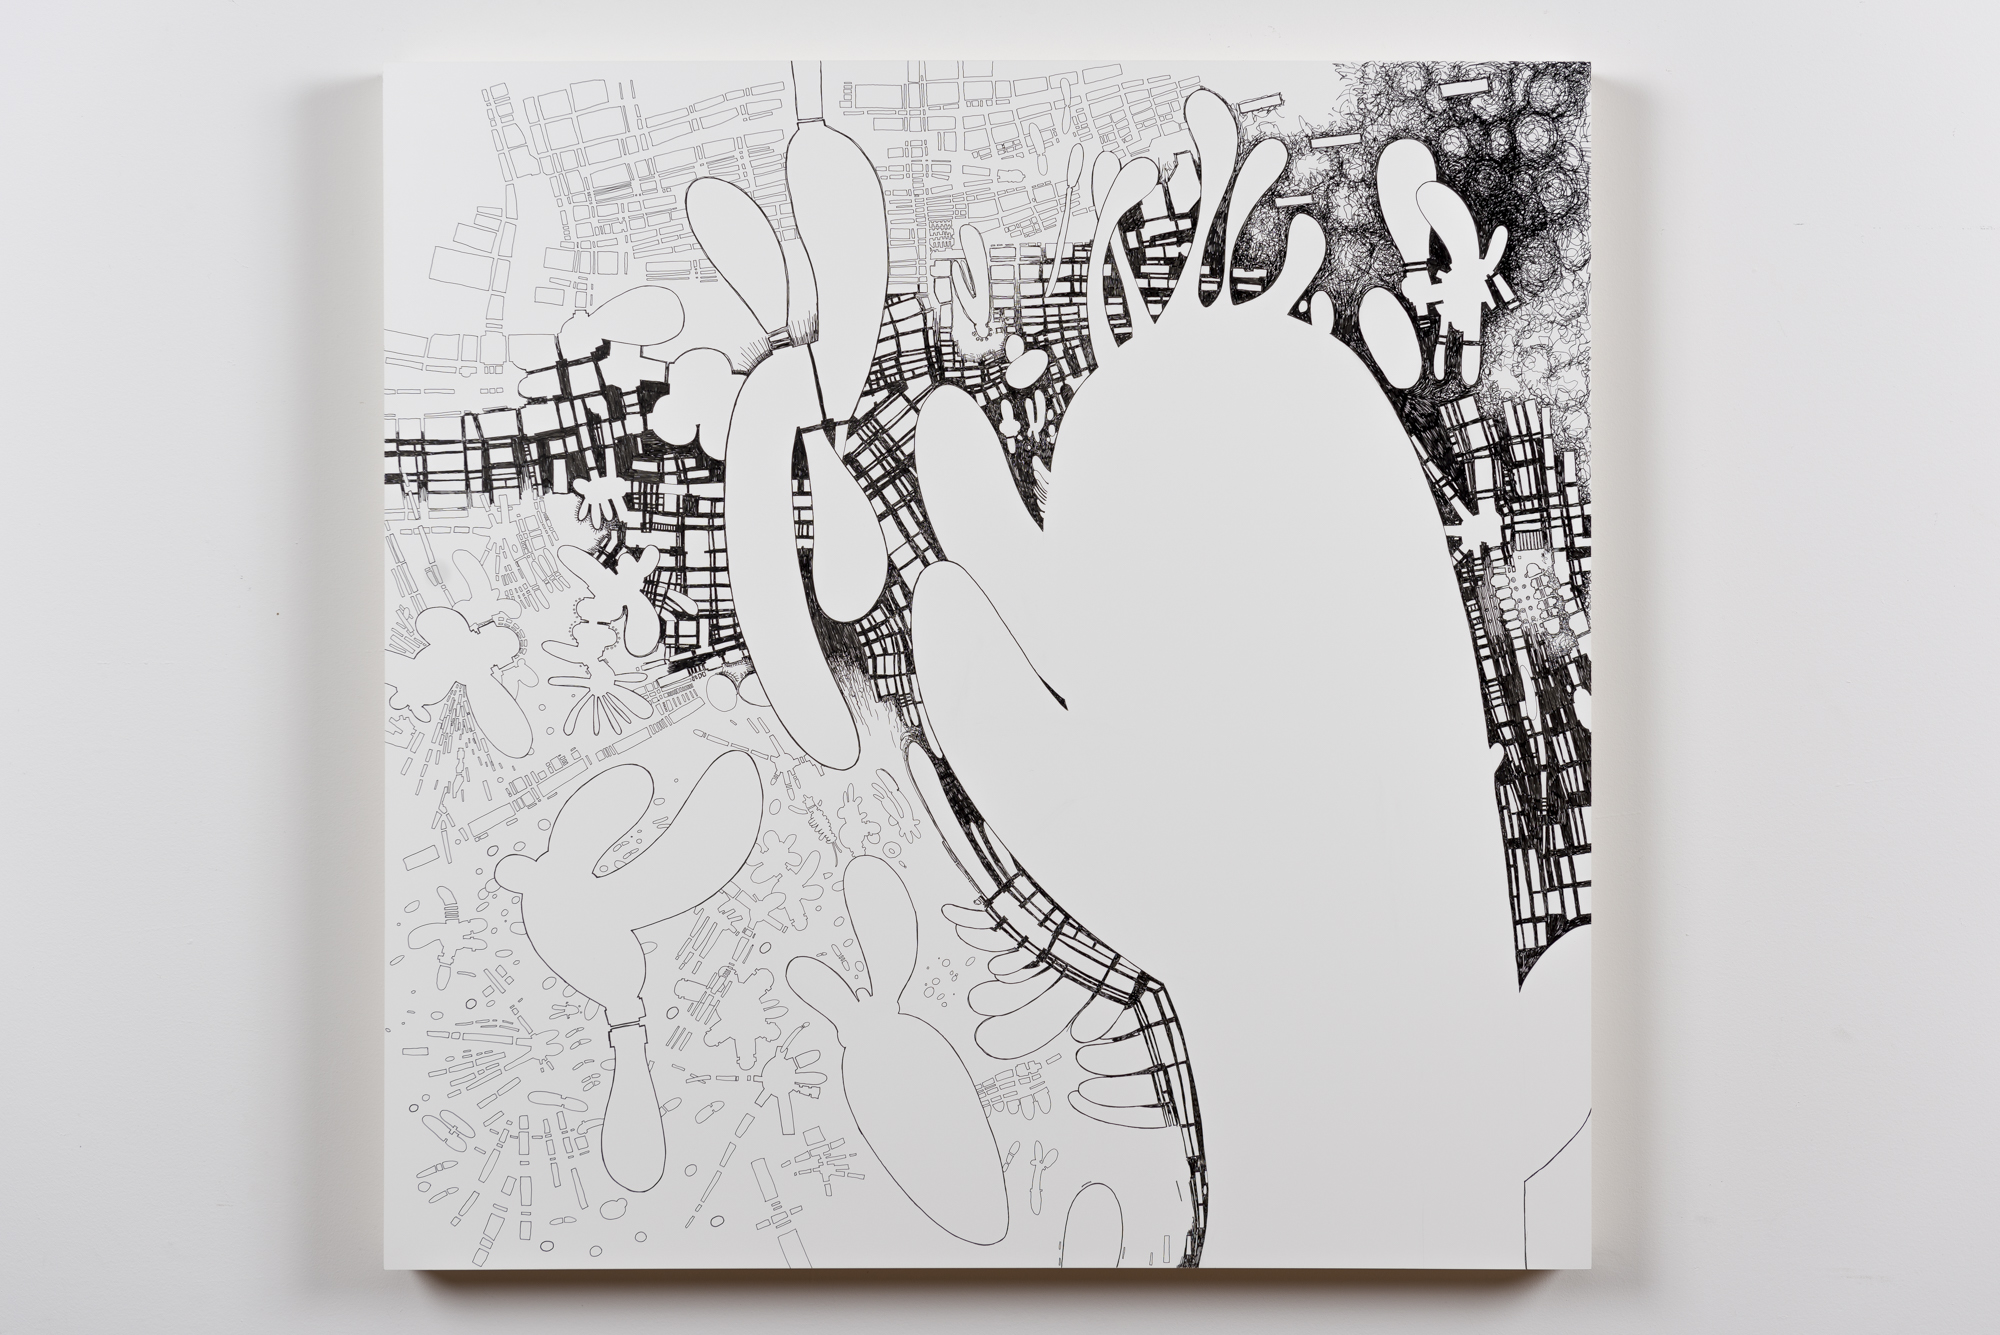
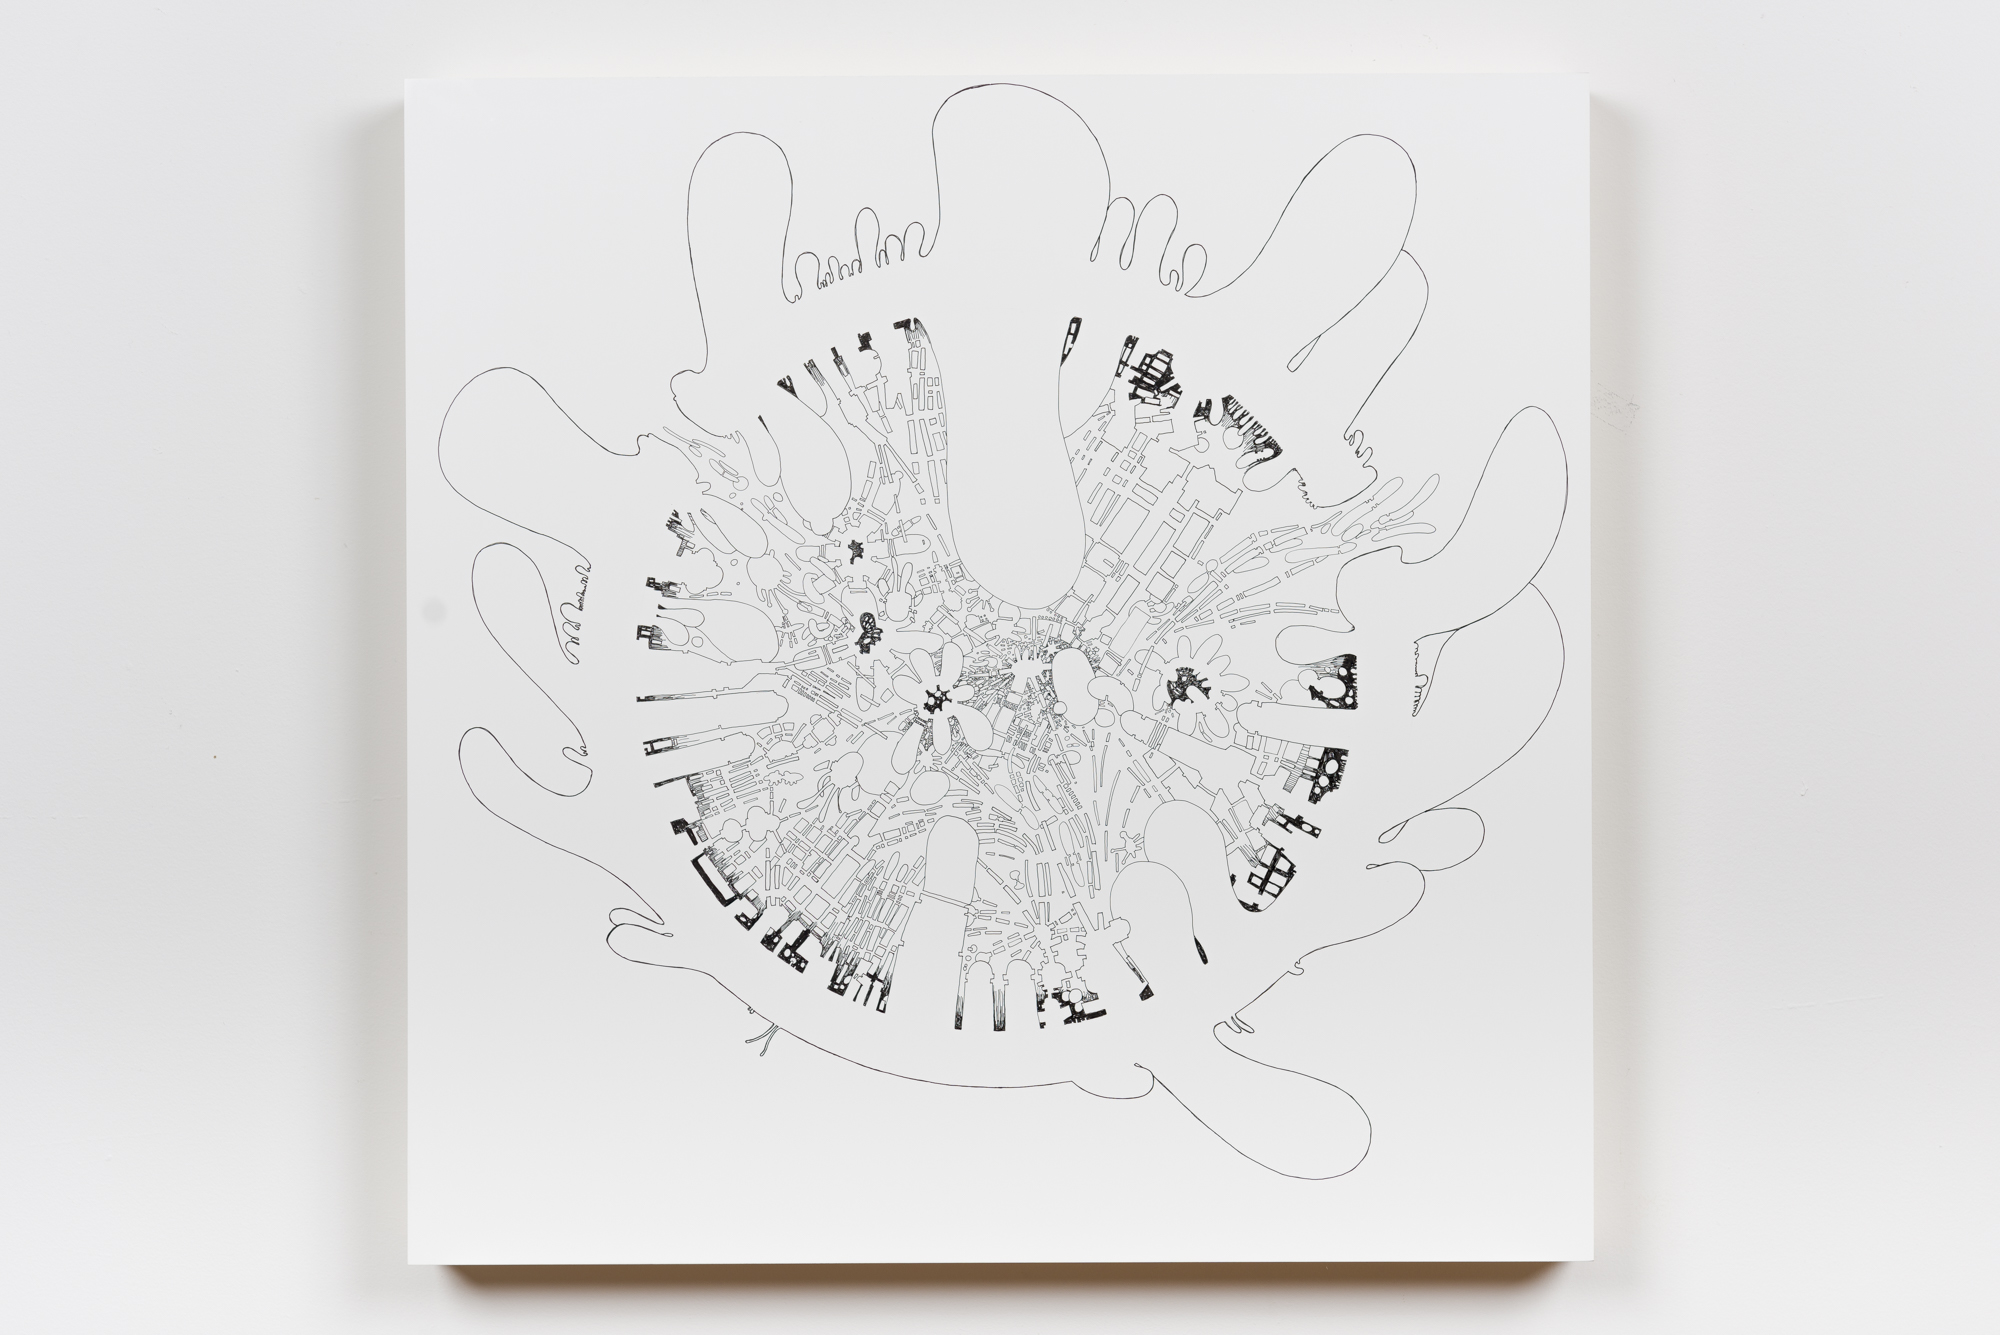
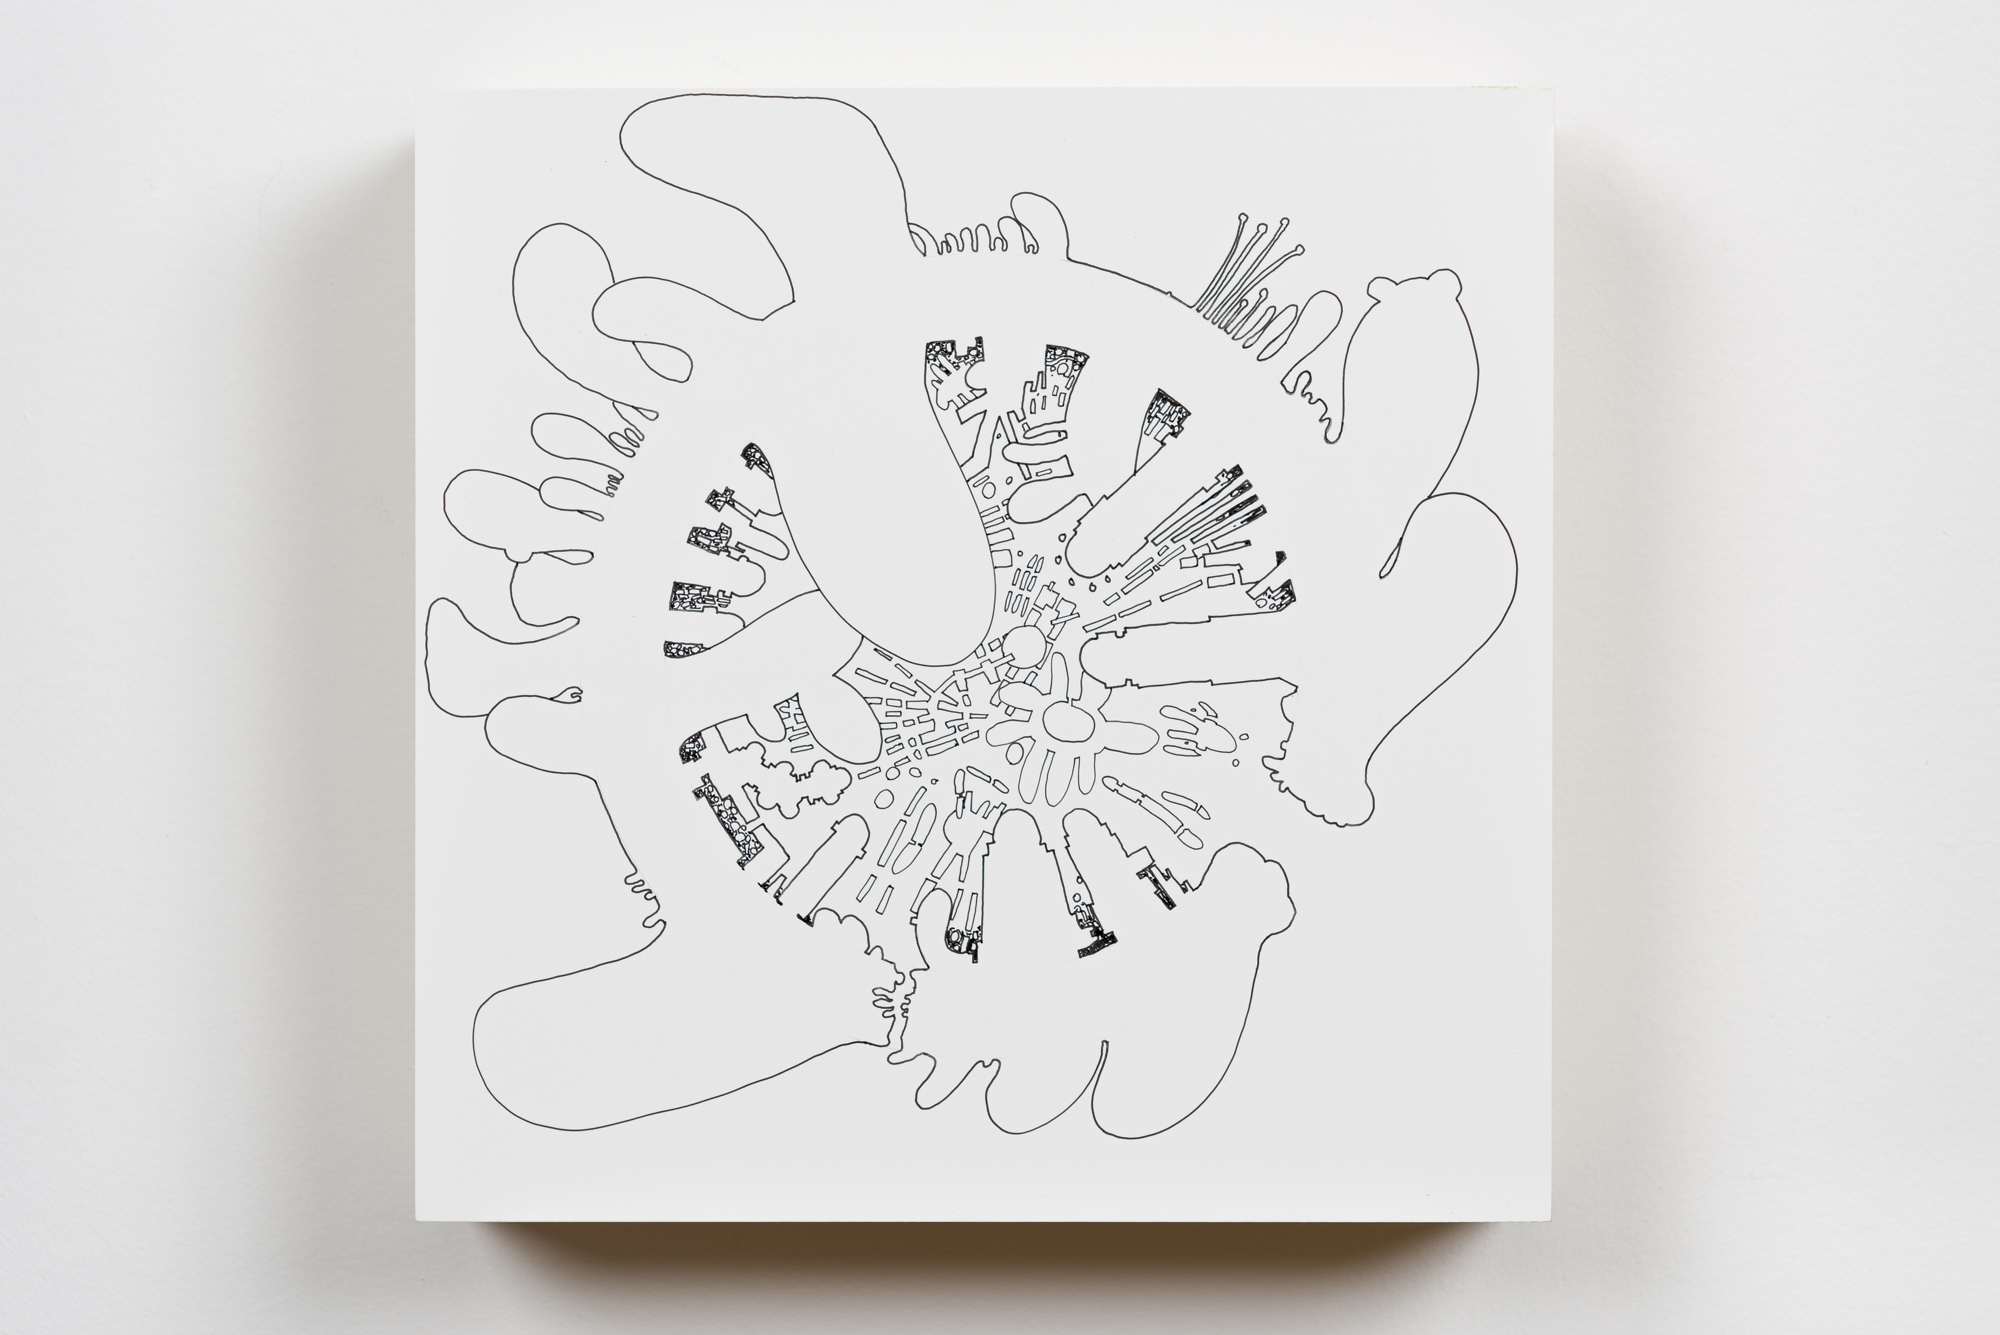
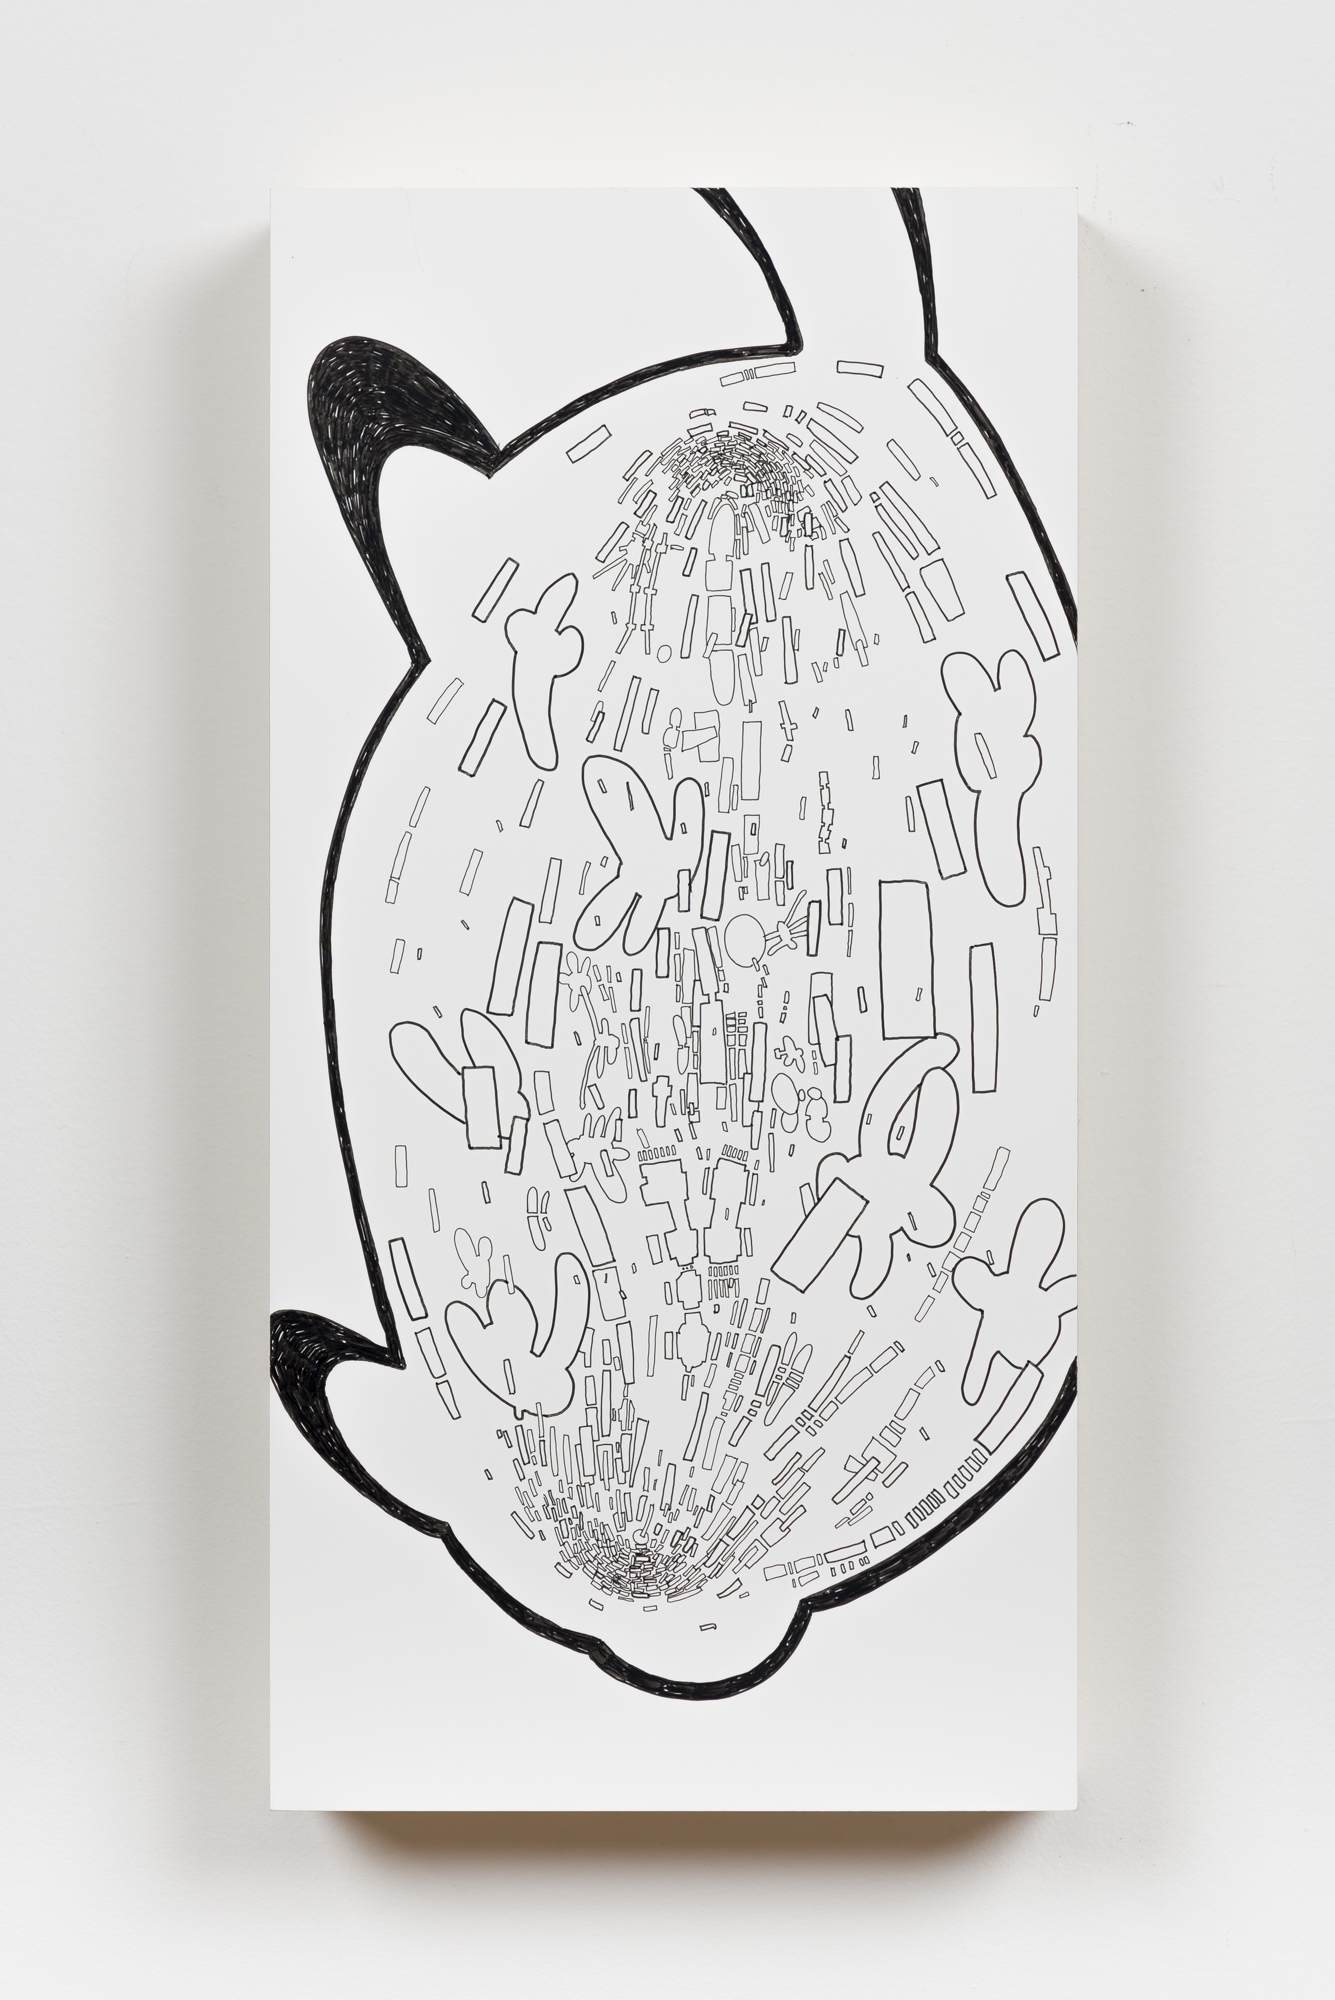
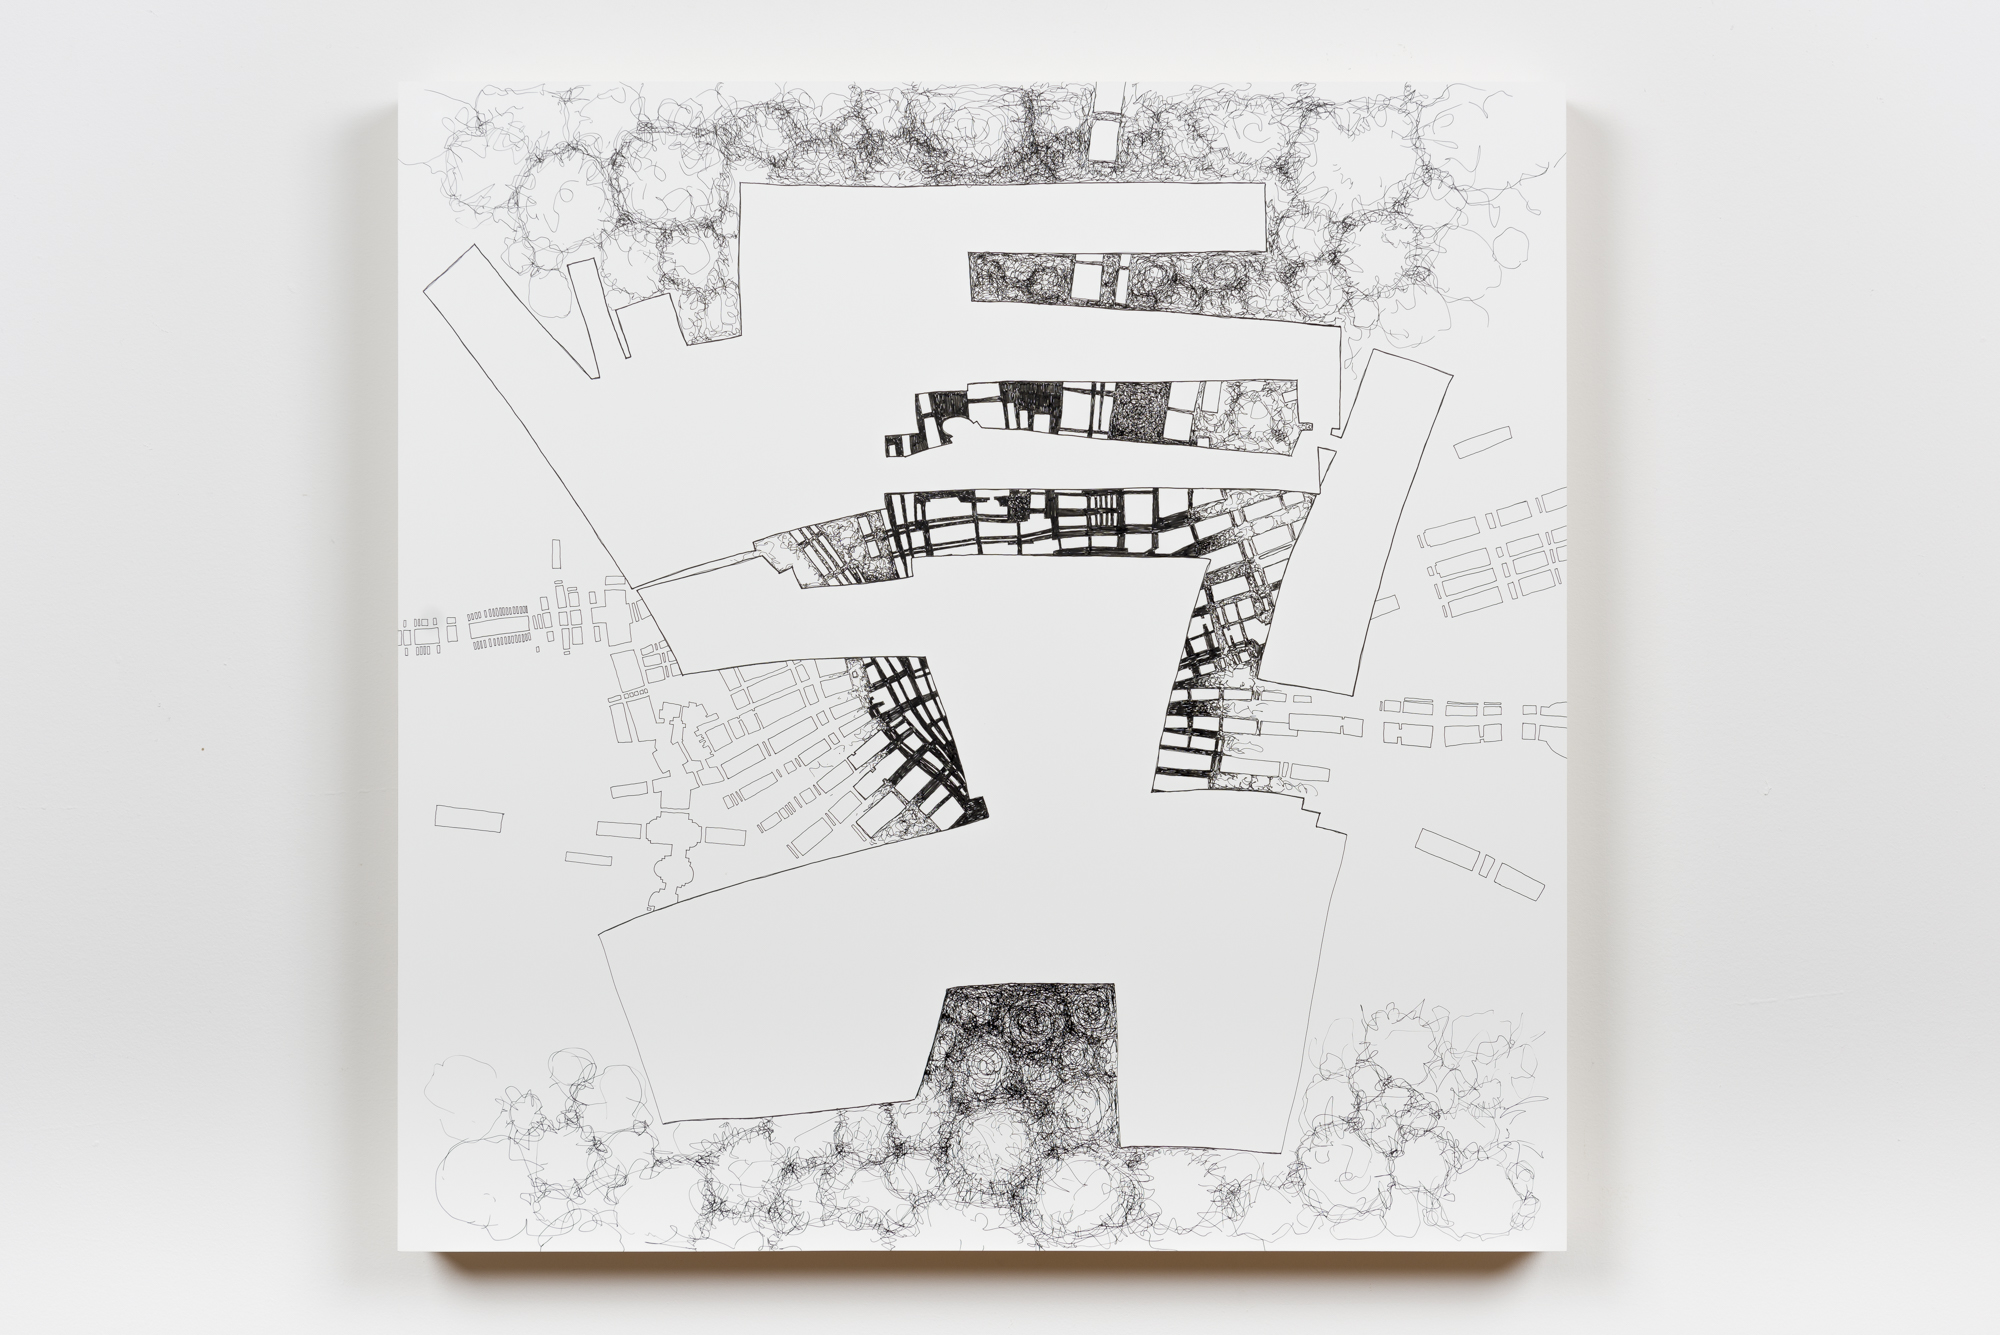
Not really blogging much, am I? Here's some new stuff.
One of my goals is to reduce expenses, so I can end each year in the black with respect to art income. If your work requires framing, this becomes a large chunk of change that you have to overcome in a given year. I can easily drop $2000 in framing costs on a show.
So...I'm experimenting with Ampersand Claybord pre-fab panels. The surface is advertised as archival, and it's silk smooth, so perfect for the Micron ink pens I use. And they don't require framing!
Here are some work in progress photos from a 2 panel piece I'm working on. One thing I'm not entirely happy with is the fact that the frames bow inward slightly due to shrinkage, so I can't butt these up together without a 1/16" gap in the middle of the seam. I'll have to present with 1/4" separating or something. I've also considered rotating the panels or hanging much further apart...
It's been more than a decade since I made sculpture. The last big piece I did was The Shape of the Universe, which was a 7' wide donut shaped city.
Making that required building a plaster form, making a latex mold and mother mold, then laying up fiberglass to make eight segments, then splicing them together, etc. etc.
Fabricating sculpture requires time, space and money, sometimes lots of each. My studio space is pretty compact right now. We actually have a fairly large studio building - the carriage house behind our row home - but we use the ground floor to run Mount Airy Contemporary, so to really set up shop for making sculpture again would probably involve shutting down MAC and taking over that space.
So anyway...I have a solo show coming up in January at Robert Henry Contemporary in NYC, and the gallery asks artists to make Artifacts alongside the main exhibition content. I don't want to just do a print, so I decided to explore doing something with 3D printing.
Now, bear in mind: my day job is in computers (I work at IT Solutions Consulting as a project manager and one time application developer), but when in the studio I've always kept it old-school. Traditional fabrication techniques, hand holding pen on paper. Drafting tables with Maylines instead of CAD, when I was doing that sort of work. My dad was an architect so I grew up around that stuff and associate making with tactility and physical manipulation. Making is something the body does as much as the brain.
As a result I've never really picked up digital fabrication skills. I barely know how to use Photoshop, couldn't fight my way out of a Sketchup box.
So: 3D printing is going to be a challenge for me.
The required output is modest - it just needs to be a small sculptural object in an edition of 30.
Each piece will sell for $100, so factoring in gallery commission, the fabrication costs need to be under $50 to not lose money. Ideally fabrication cost will be under $10.
I decided that I needed to learn about the process at the same time as learning the tools, so I'm taking two paths here:
The first is to iterate through some very simple prototypes using Shapeways.com.
The second is to learn how to use Blender and SketchUp.
For Shapeways, I took advantage of their 2D to 3D tool, which just extrudes an image into three dimensions based on greyscale values - where darker=taller. Here's the drawing I worked with, the inverted image I used in the tool, and the initial result as a 3D model, ordered through Shapeways. I didn't bother cleaning any of the image up - my goal was quick and dirty to get a physical object in my hands so I can review it, play with it, think about it.
The Artifact is unlikely to be a flat extrusion, though. I'm going to be playing with remapping these things onto geometric shapes, tugging and distending primitives. I'm going to build some of these architectural structures from scratch too, and see how that goes.
This will never be something scaleable to large sculpture, obviously - these things get printed on trays that have maximum dimensions and are priced by amount of material used. But it looks like a fun prototyping tool for someone who still depends on physical objects for it to "mean something".
The second path: learning 3D modeling tools!
Working on 90" long drawing for a show at Robert Henry Contemporary in January. This is probably 1/3 done...and is an elaboration of Heliotrope, a smaller piece I made a year or so back.
Photos with iPhone; I don't get fussy with WIP documentation.


If you came by open studios this year you probably saw this one in progress. I started this one earlier this summer and came back to it recently. I thought I’d share some documentation of the process. In the first few photos you can see the grid structure that’s embedded in the later versions of the piece - the bones.
Still have some work to do - at the moment adding either “roach buildings” or “tadpoles” (seen in the last two photos) - not really sure how to classify them.
Click to enlarge.